You may have be wondering, but are hesitant to ask, what are my go-to tools and supplies when starting a furniture project. Wonder no more! I have selected the top ten furniture refinishing essentials that help me take a piece of furniture from drab to fab.
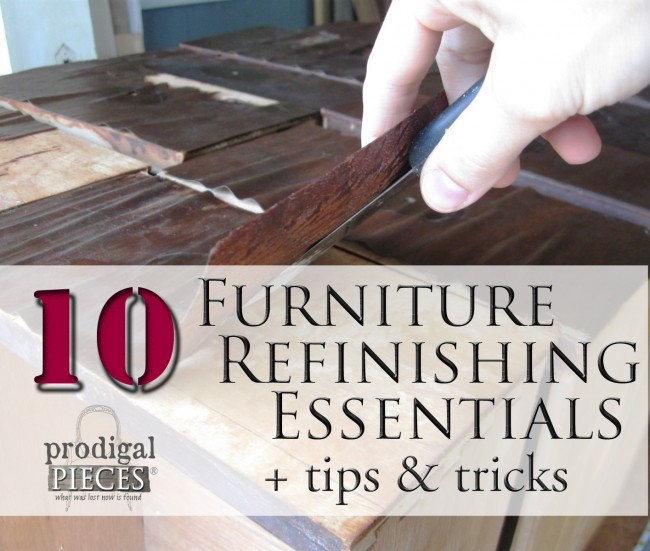
Here’s my list for furniture refinishing. (in no particular order)
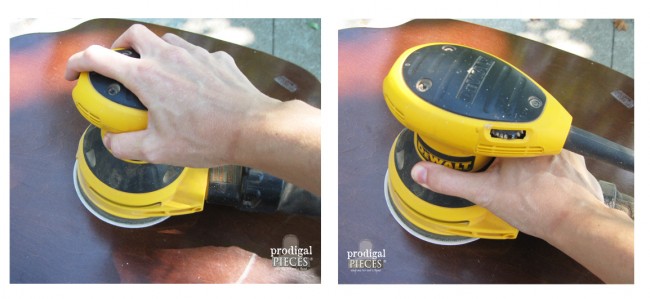
- Sandpaper & Sander
- Wood Filler
- Putty Knife
- Brushes & Rollers
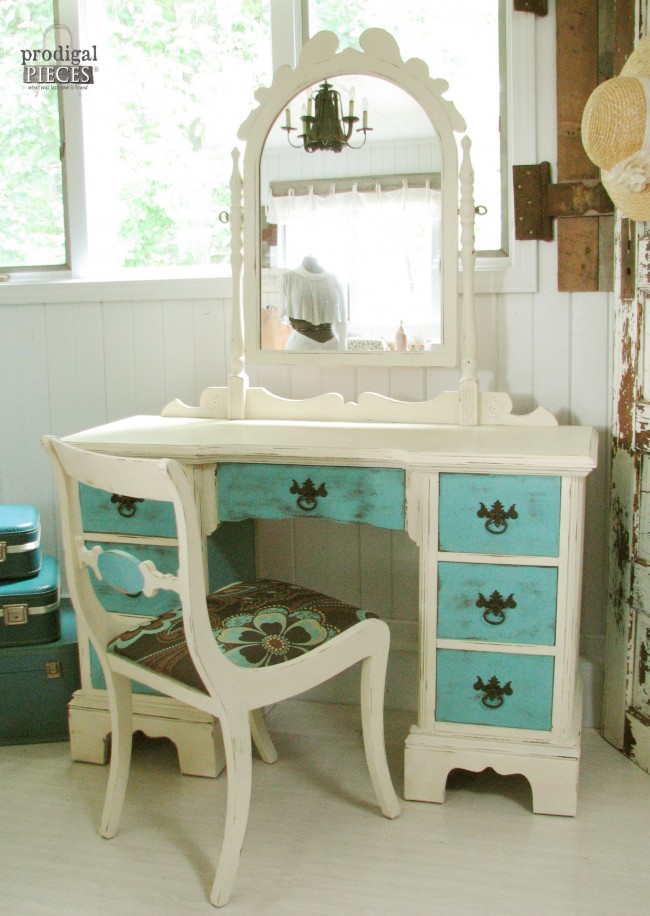
- Paint
- Stain
- Topcoats – Wax & Poly
- Safety Equipment
- Cloth Rags
- Cardboard – yes, you read it right!
Sandpaper & Sander

Wood Filler
A furniture refinisher’s best friend! This stuff is like magic and can solve the most ugly of situations.


Putty Knife

It’s very versatile and dangerous – I can’t tell you how many times I have nicked myself with it – that blade has gotten very sharp over time! Duh-factor: anything with the word “knife” in it should be used with caution. ahem.
Brushes & Rollers


A WORD OF TRUTH
Paint


Topcoats – Wax & Poly

Safety Equipment
My health comes first to me and although it is quicker to just grab a rag and start working, I really feel that there are a couple items needed to protect yourself.

Cloth Rags
Cardboard

Tips & Tricks
- To remove veneer like butter off of hot toast, just soak a bath towel in water (nothing else) like you’re trying to drown the wood and lay on veneer overnight. Even dump extra on. EASY!

- To hide scratches & minor blemishes wipe on Old English Scratch Cover. BAM! Comes in various shades to match you finish.


- To remove sticky residue from stickers, grab your alcohol. Not a drink, just your drug store Isopropyl stuff. GONE!
- To get rid of musty odor and smoke, just set your piece, with drawers removed, in the sun for a day or two or wipe down with vinegar. FRESH!
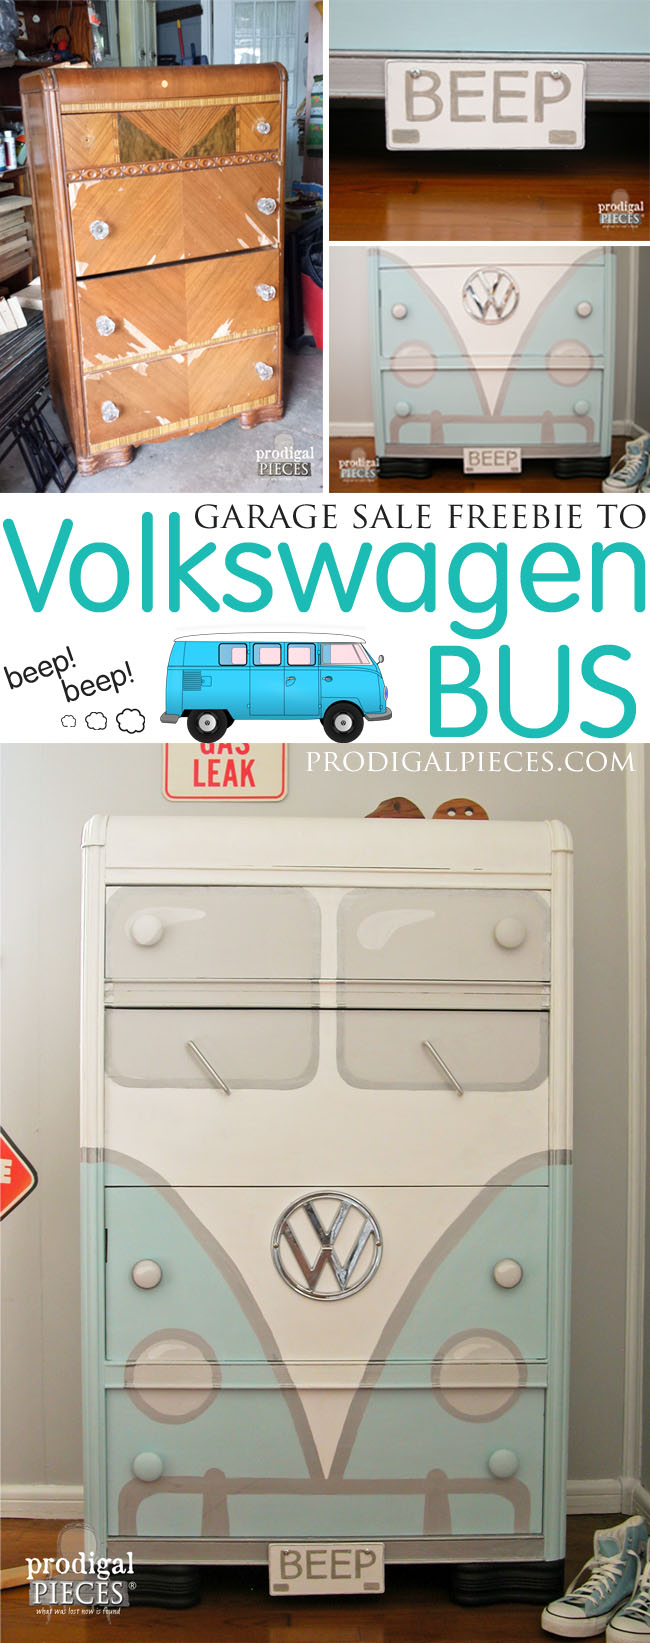
Also, check out more DIY goodness like furniture refinishing:

What a great blog post. Thanks for sharing all these great tips.
I’m just finding this and it was inspirational. thanks for all the details. I’m your newest follower. r/sugar
Great tips and advice! I am at “medium” level restoring furniture and your input is highly valued, thanks!
Awesome! Happy to hear it. Let me know if you have any questions! 😉
Hi Larissa,
I’m very interested in your tip on removing veneer. You said to soak a towel and place it on the piece overnight. Do I just soak it in water or should it be hot water or is there a product I should soak the towel in? Thanks.
Hi Stephanie! Yes, just super-soak it in water, even pour more on and let it sit. Let me know if you have any questions!
I just spent an entire hour reading post after post on your site. Your pieces are well done, I appreciate your work and the way you tell your stories. I’m not a momma yet so I’m also wildly impressed that you’re able to do everything you do with six little ones. Does your husband work from home?! Anyway, I most just want to say that I think I’ve found a new favorite website. Keep up the good work!
Awww…you made me tear up. Thank you! Yes, hubby works away from home (and at home with his honey-do list). We are crazy busy and hoping to slow down once our remodel is done, but that is yet to be seen! 😉
Do you have tips and tricks for dealing with old stain? I’ve tried using the stuff in a can to be rid of it but it hardly works, I end up using most of the can for only a 10-20% removal rate. 🙁
Hi Jenn, do you know what type of stain it is? (ie, chemical or natural)
In lieu of not knowing for sure I’d go with chemical.
I should have also asked if it’s in wood or fabric? I don’t have a solution for wood, but have heard different method work on chemicals that I’ve seen on Pinterest. Sorry, not much help. :/
Wood! I don’t have a workshop or much in the line of tools but I like working with wood whenever I can. I had two years of woodshop in HS and loved it.
Wonderful, useful information for a beginner! Thank you!!
Awesome! I need to do an updated post as so much has changed, but plenty the same too. Thanks!
Larissa, I have a hutch that is veneer, I’ve removed the varnish and given it a light sand. Can I white wash it or do I need a more solid finish?
I think you can whitewash it no problem. Do you mean have a primer before paint? Feel free to email.
Would you recommend a primer first? Wouldn’t that take away from the whit wash look?
It would to an extent. Some use the term whitewash loosely and mean a solid white color. If you want a true wash, then no primer.
Hello, Larissa, I wanted to just say “Thank You so much” for sharing so much wonderful (&important) information. I thought I had subscribed to your blog etc. B4, but could find nothing!! I made sure I am following you on Pinterest as well.
I have MANY items in the garage, basement, shed etc. that I must work on soon, before my Husband decides to start cleaning!? I always have the best of intentions, but seem to stray away from the project @ hand. Again, Thank You for all the great idea’s…..Sincerely, Rita
Thank you so much, Rita. I hope you have fun!
I have questions, I recently picked up a tall boy waterfall 5 drawer dresser that needs TLC. I have read that removing the veneer is the best way. I can remove from the drawers and frame, but the waterfall is all veneer. How can I remove that and recreate the best part of this piece?
Yes, you can remove the waterfall veneer. I’ve done it dozens of time. Just use the soak method I’ve described in my posts: https://prodigalpieces.com/?s=veneer+soak+method